Q: What are masterwork rolls?
A: Most legendary weapons are capable of being Masterworked. The masterwork system is a way for you to upgrade your favorite weapons to their maximum potential.
Q: What does it take to upgrade a weapon to a masterwork?
A: Upgrading your weapons, in broad terms, takes a small amount of glimmer, legendary shards, and, most importantly, Enhancement Cores.
Depending on what Tier your weapon is at, the requirements to raise it to the next tier increase the closer the weapon is to being fully masterworked (Tier 10).
Q: What benefits do I get for masterworking a weapon?
A: Each tier that you increase your weapon will grant a small buff to a single stat, chosen randomly when the item drops.
Beyond that, at Tier 5 you gain access to a kill tracker. At Tier 10, your multi-kills will generate orbs of light.
Q: So what are these "masterwork roll" stats?
A: These are the possible stats that upgrading your weapon will grant a bonus to. Depending on what tier you are at, you can grant anywhere from 1-10 additional points in any of the stats listed to your weapon.
Q: Any catch with this?
A: The Bungie API currently says that all weapons can potentially roll with all stats as their masterwork stat. This obviously isn't accurate, as Blast Radius isn't applicable to, say, Auto Rifles.
The list you see on this page is trimmed to only show stats that actually appear on the weapon. However, it is possible that Bungie has additional logic behind the scenes that further filters these
possibilities to, for example, prevent certain items from being able to have an Impact masterwork. Until Bungie modifies the API files to 100% accurately display which masterwork stats are possible on
each item, take what you see here with a pinch of salt.


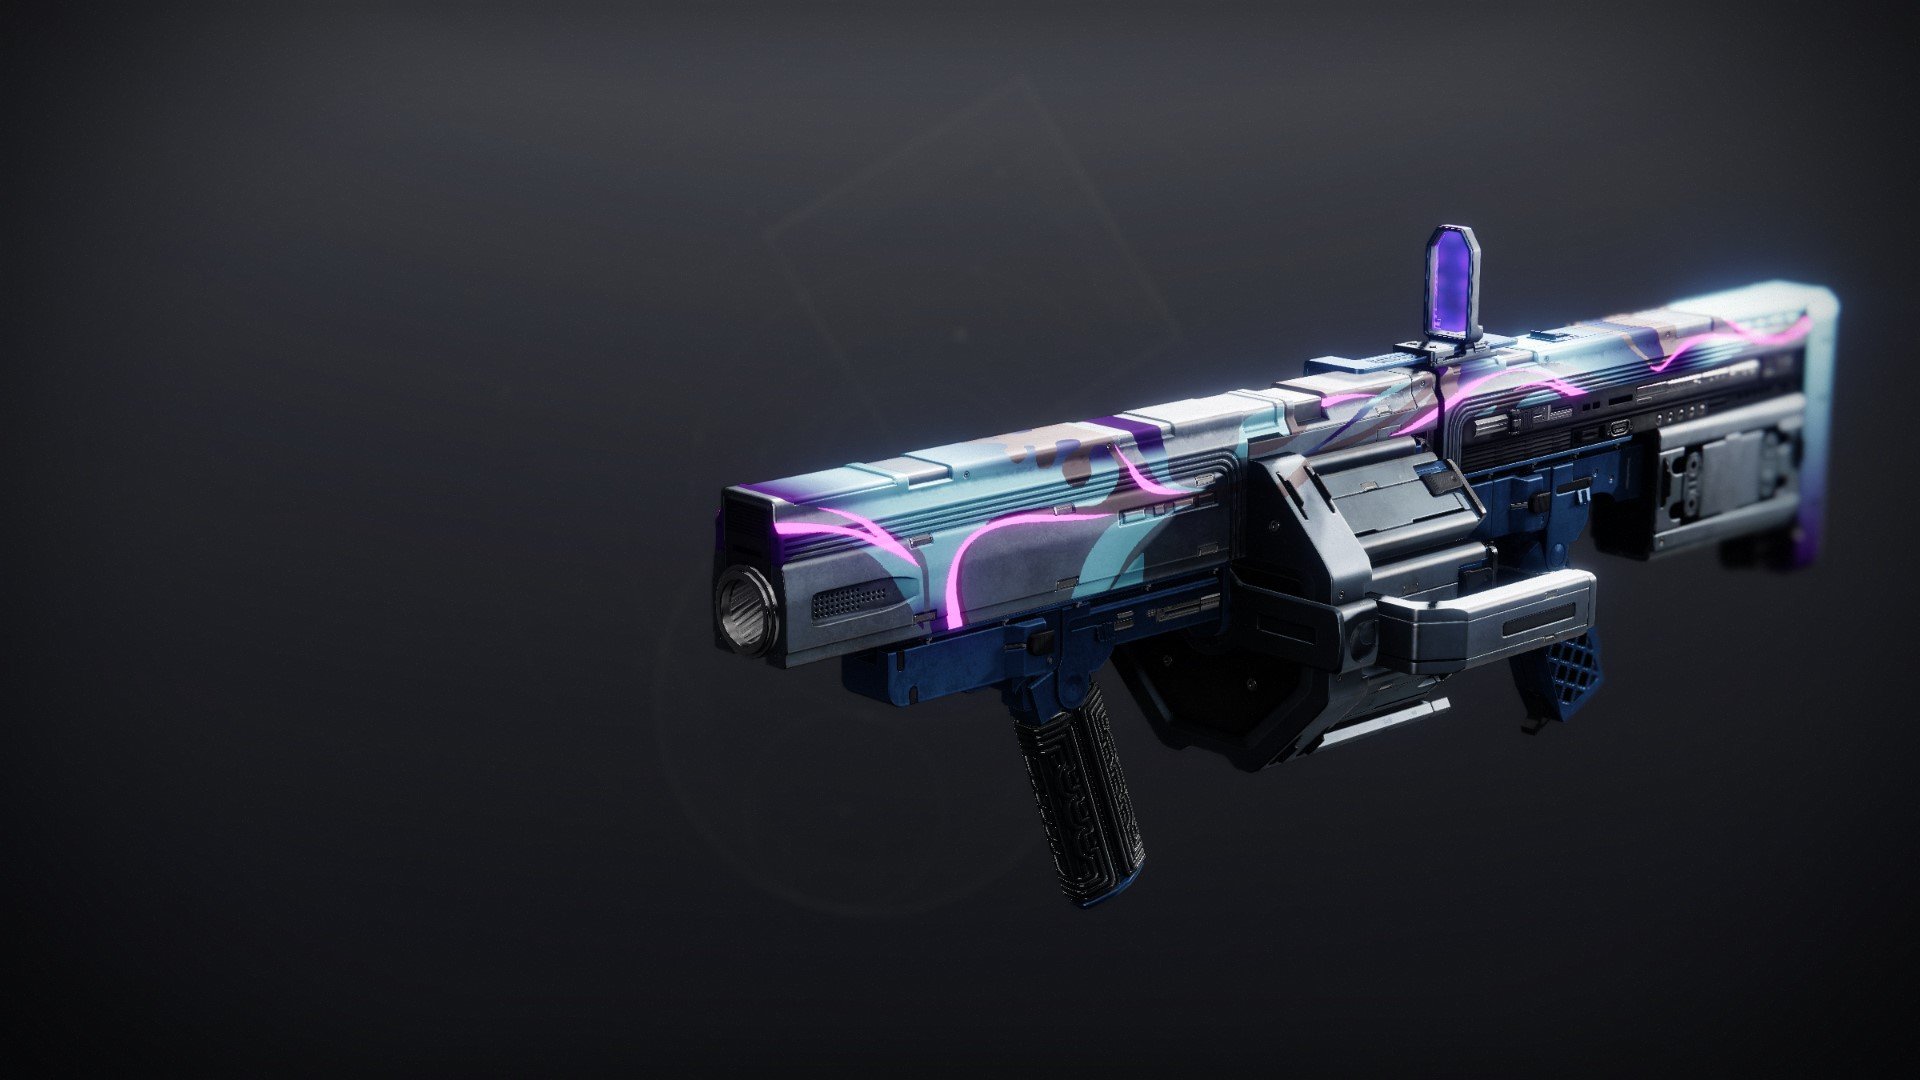









The only reason all the other reviews you see here - up to and including the *top-voted one* - are from initial impressions and that's it, because anyone who's truly used this weapon can tell you they're wrong. Dimensional Hypotrochoid is a great weapon, and at that, a versatile one too. I throw around "versatile" a lot, but with this thing, I really do mean that - as long as what you're shooting at is actually on (or close enough to) the ground so the waves can hit them, this gun can do basically anything, it's staggering. Clear trash mobs? Though you should conserve ammo, absolutely. Do single-target DPS? Shockingly, yes. Kill players? They have to be grounded to kill them in one shot, but it does that too.
There are three important things about Dimensional Hypotrochoid's functionality that are only evident once you use it, and are important to know. One, while its waves are narrower than Special Wave Launchers, it's by a much smaller degree than you'd think; two, while grenades still only explode on contact with the ground, they create an actual (small) explosion around them on initial impact; and three, befitting of a Heavy weapon, its waves deal unexpectedly high damage per. Even with point one in mind, you should go for one with high Blast Radius (Volatile Launch + High-Velocity Rounds gives you the most at +15, MW for +10 more optional), just to be safe. Point two is a double-edged sword - on one hand, it actually lets this weapon one-shot-kill enemy players if you hit them direct with the grenade as it explodes on the ground, but on the other hand, it's why shooting this weapon too close to yourself kills you, as opposed to Special Wave Launchers, which are very safe to use point-blank. Point three is a big part of why this weapon is more viable at boss DPS than you'd expect; "direct" grenade hits give you extra damage, sure, but just hits with the waves alone are deceptively strong before any damage buffs. Nanotech Tracers rewards successive hits with a little extra damage, Vorpal Weapon and Boss Spec push this even further, and Stasis Weapons Boost is, naturally, highly recommended. One last thing to note is that this weapon does have an unfortunate disadvantage in its lower-than-average total ammo capacity, at 16 rounds to most Grenade Launchers' 20-ish. Something that helps with Heavy ammo generation - Heavy Ammo Finder, the Aeon arms - will be a massive boon with this weapon. Stasis Reserves unfortunately doesn't help though, given how little ammo it gives you per copy (+1, I think).
While it's good everywhere (except maybe most Crucible modes - just use a high Blast Radius Adaptive or Rapid-Fire GL there), this weapon is best at home in Gambit, being the activity where basically every facet of the game is rolled into one activity. Need to kill adds or blockers quickly? Dimensional Hypotrochoid. Close to a pesky Invader and don't mind using a Heavy shot or three on them? Dimensional Hypotrochoid. It's time for Primeval damage and you've still got time on your Armor Charge for full damage? Dimensional Hypotrochoid. Nobody else on your team's invading and you're confident you can get close enough to shoot them with this weapon? Dimensional Hypotrochoid! The fact that you're given guaranteed Heavy ammo as the round goes on in this mode helps a lot.
For perks? I can't recommend Vorpal Weapon in the fourth column enough - yes, I know Chain Reaction seems tempting, but it does a lot less than you'd think on a weapon like this, trust me. For the third column though, you're a lot freer - Field Prep is obviously just the best choice for the increased ammo and reload speed, and this being craftable, you can get its enhanced version too, but Envious Assassin can be good for boss damage as long as you can time its activation, while Threat Detector and Unrelenting are better for crowd-clearing, if you want to go that direction.